By Laura Fenton
Photos by Laura Fenton, unless otherwise noted
With the winter solstice almost here and the year coming to a close, we’d like to propose a new tradition to kick off the New Year: Sowing native seeds outdoors. Many native seeds need a period of cold stratification in order to germinate, and one of the simplest ways to do this is to sow them outdoors in winter. “January 1st is an easy day to remember, and it’s late enough that you’re not going to accidentally cause seeds to rot,” says Claire Davis, an ecological garden designer in the Hudson Valley. “It’s a really nice way to start the New Year.”
In areas with winter weather, you can sow seeds outdoors from mid-November to January, but if you’re on the later side, check your species cold stratification requirements and your last frost date to make sure they’ll get enough time in the cold. In addition to some basic seed starting supplies, you’ll need ample patience. “Plant now, and you will likely have seedlings emerge in early to late spring,” says Gena Wirth, a landscape architect and partner at SCAPE‘s New York office, who is also a micro-scale grower of native seeds. Those seedlings won’t be ready to go into the garden until fall.
Sowing your own seeds has many benefits, among them the possibility of growing local ecotype plants. It’s hard to find regionally-adapted plants at nurseries, which often sell clonal plants grown through cuttings and culture, explains Emily Rauch, the native plant program manager at Hilltop Hanover Farm in Yorktown, New York, one of Perfect Earth’s Pathways to PRFCT partners. “The reason to grow plants from seed is to ensure genetic diversity. Clonal plants all have the same genes.” Davis has also found that local seeds handle local soil and weather better than those sourced from far away.
Another plus to growing your own plants is significant cost savings. Davis began growing native plants from seed when she was working at the historic Locust Grove Estate in Poughkeepsie, in part, because her needs didn’t fit the economies of scale of ordering wholesale. “I didn’t need the 50 plants that come in a landscape plug tray, I needed a dozen, and the price difference between buying 12 one-gallon pots and a landscape plug tray was quite large,” she says. “I’m sure it has saved me thousands of dollars over the years, if not tens of thousands at this point,” adds Wirth.
Perhaps more important is that by growing them from seed, you’ll get to know these native plants better. “You will come away with a whole new understanding of the plants that you’re growing—what they like and don’t like, the conditions that they tolerate or don’t,” says Davis. “That knowledge can really inform how you garden. It just gives you a whole other layer of information and confidence to work with when you’re gardening.”
If this inspires you to try your hand at sowing native seeds this winter (and we hope it will!), read on for these experts’ tips for success.
Start small.
“It’s easy to overdo it,” cautions Davis, who suggests that newbie seed sowers stick to just three to five species the first year. Select seeds that are easy to germinate and resilient plants. Almost all asters, goldenrods, bee balm (Monarda), and mountain mint (Pycnanthemum) species are especially easy to grow from seed. Davis says Skullcap (Scuttelaria incana), White snakeroot (Ageratina altissima), Beardtongue species (Penstemon), Vervain species (Verbena), and Eastern red columbine (Aquilegia canadensis) are also good choices. (Avoid plants with a tap root, as these are harder to nurture.) Likewise, you don’t need to go out and build a cold frame or special pots for your seedlings. “Don’t stress too much about the materials, just focus instead on easy plants,” says Davis.
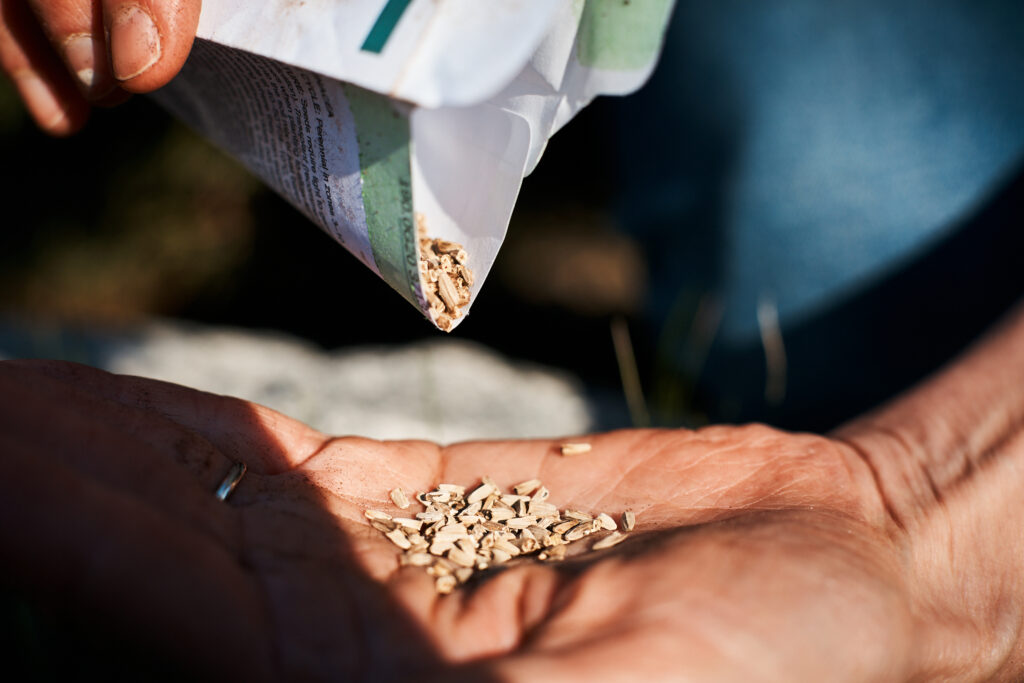
Laura pours a selection of seeds out. She’ll add more seeds in a pot than she would if she were growing vegetables in case a variety has a low germination rate.
Reuse your old pots.
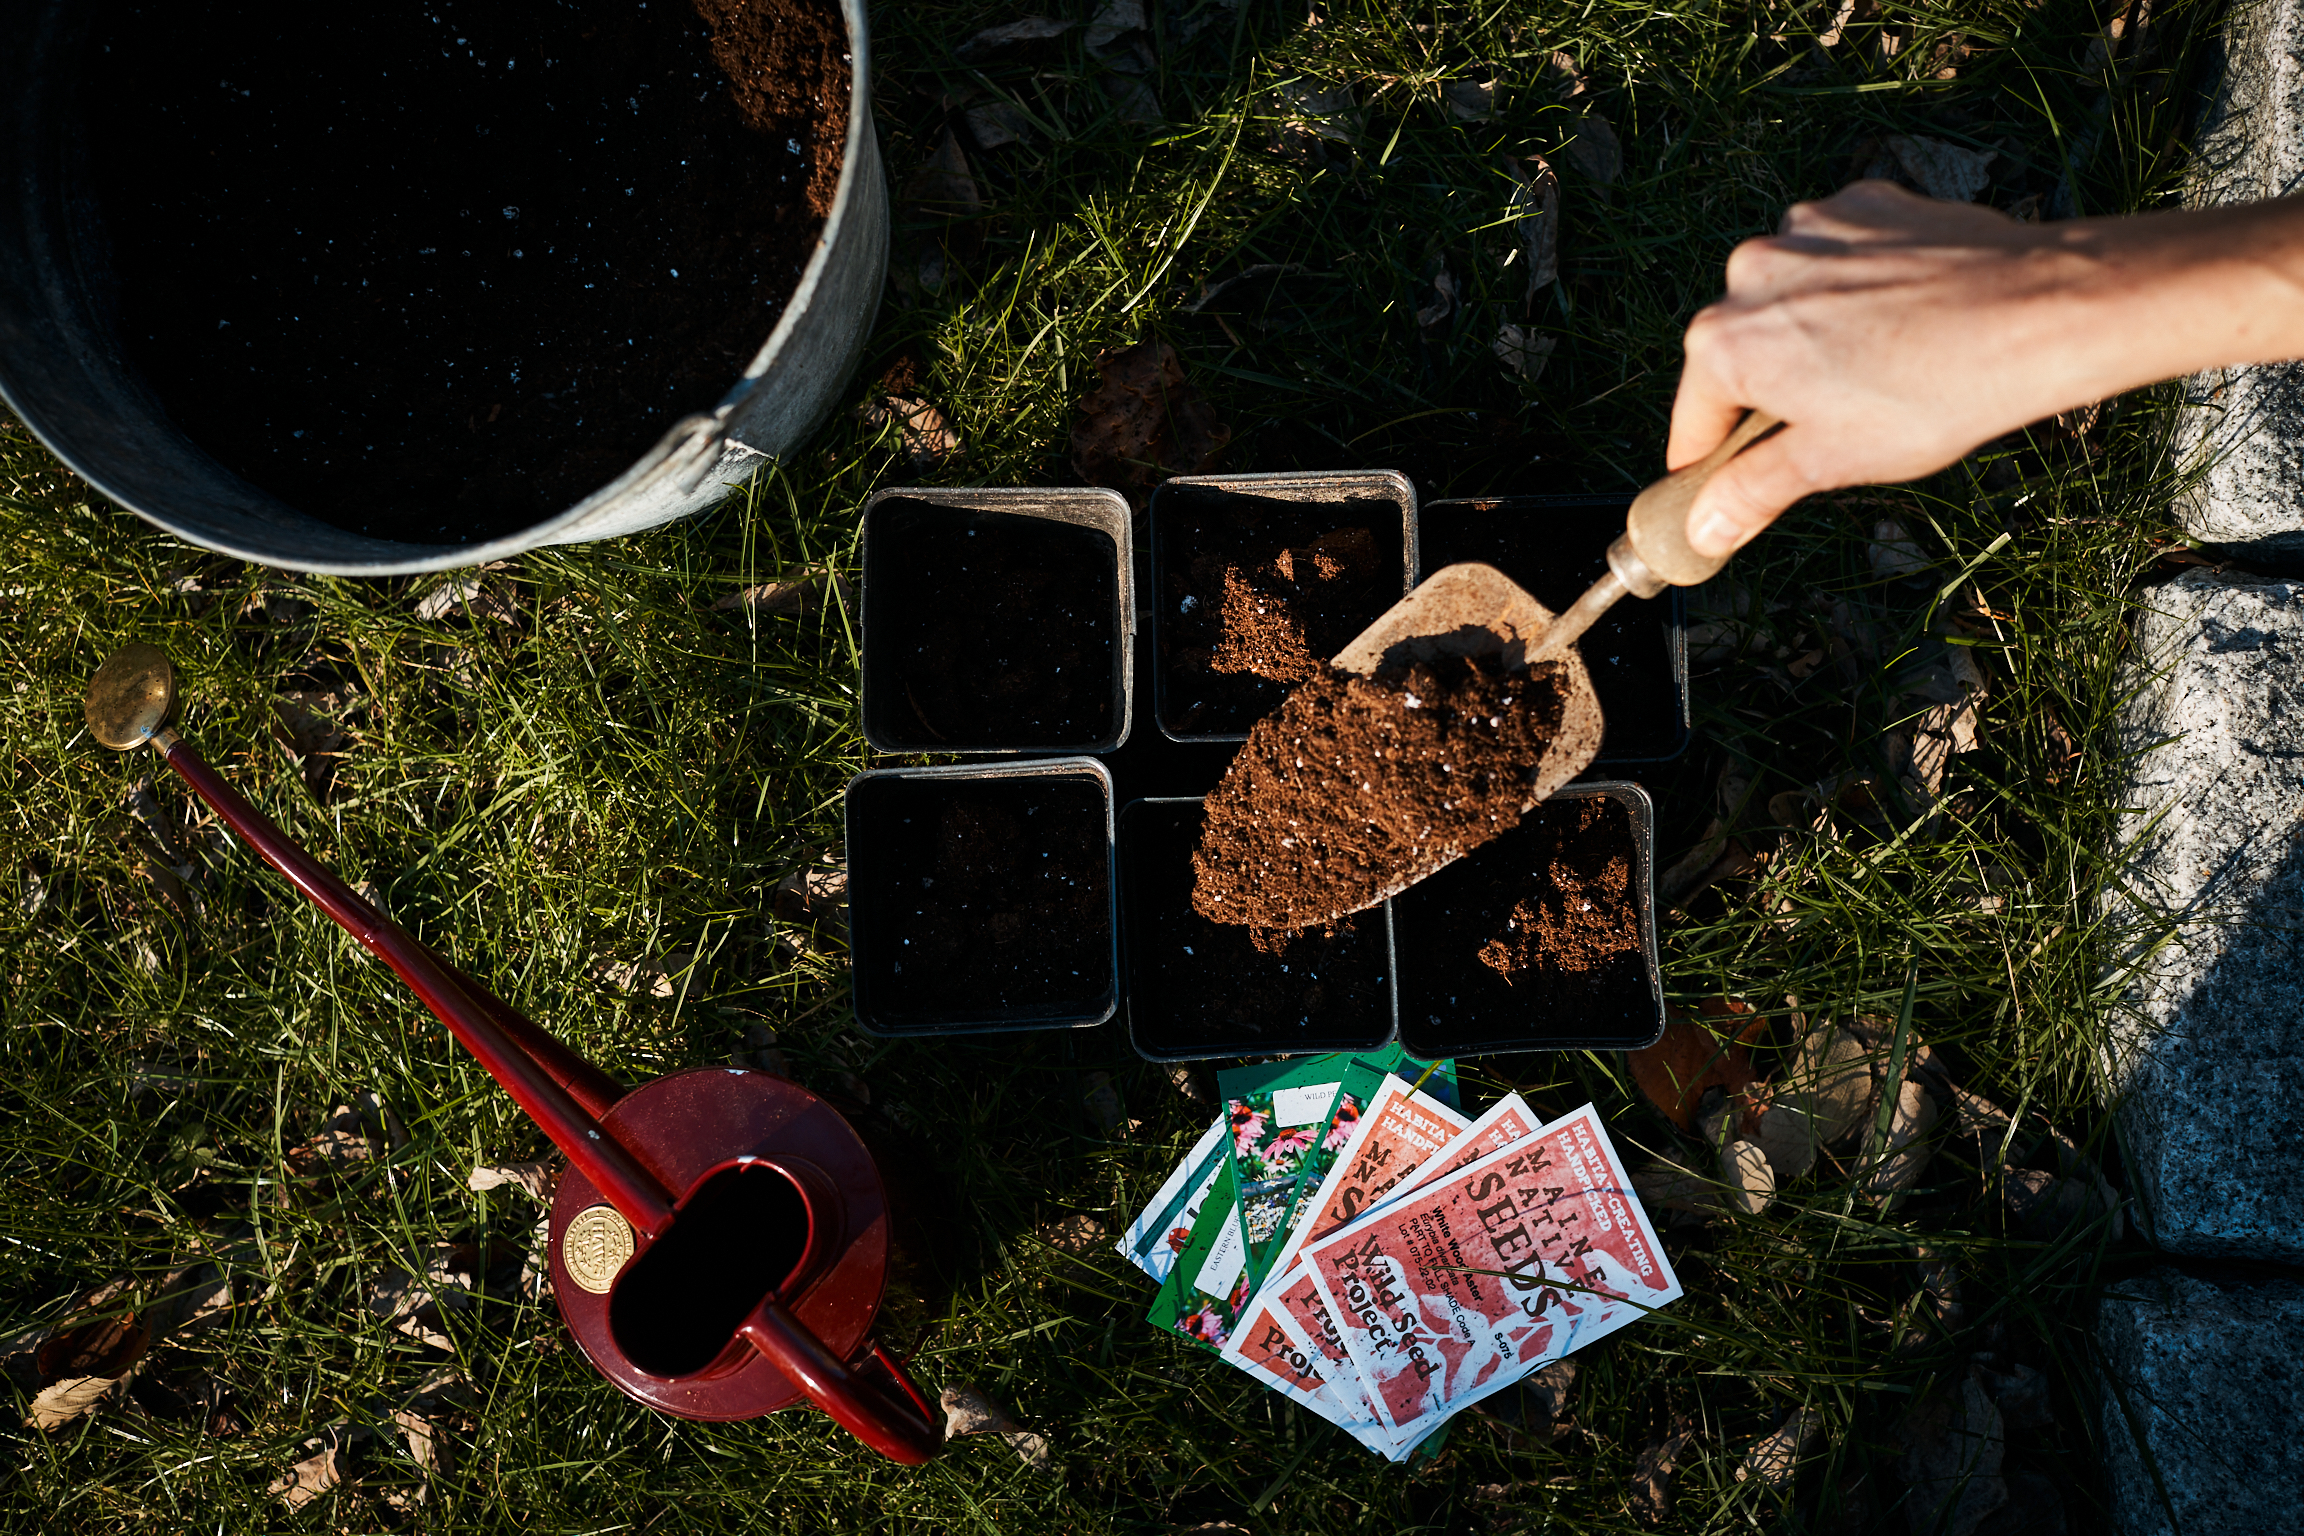
Rauch encourages gardeners to reuse the black plastic pots they get from the nursery for starting seeds. She recommends sanitizing them with hydrogen peroxide or a 1-to-10 ratio of bleach diluted in water. Davis says it’s best to use uniform containers, say all 4-inch or all 6-inch pots, so that you can push them close together to deter chipmunks and other curious pests.
Pick the right potting soil.
You’ll want to plant your seeds in a good organic soil for starting seeds. Davis and Rauch encourage gardeners to seek out peat-free options. Don’t reuse soil from pots or garden beds because it may have weed seed or disease in it, and don’t be tempted to use compost, which is too rich for many native plants. Rauch likes a soil that contains coconut coir to help create air flow. “You want it to be a light mix,” she says.
Protect your plantings.
Equally important as good soil is to protect your plants from predation. You need to cover your pots with an old screen or hardware cloth to keep animals from eating the seeds, but the material must be permeable so that rain can still reach the soil. “Make sure whatever protective thing you’re using fits snugly around the group of pots on all sides,” cautions Davis. You’ll also want to position your pots in a protected area. Rauch and Davis suggest a place out of the prevailing winds and close to the house, so they get a little bit of extra warmth and protection.
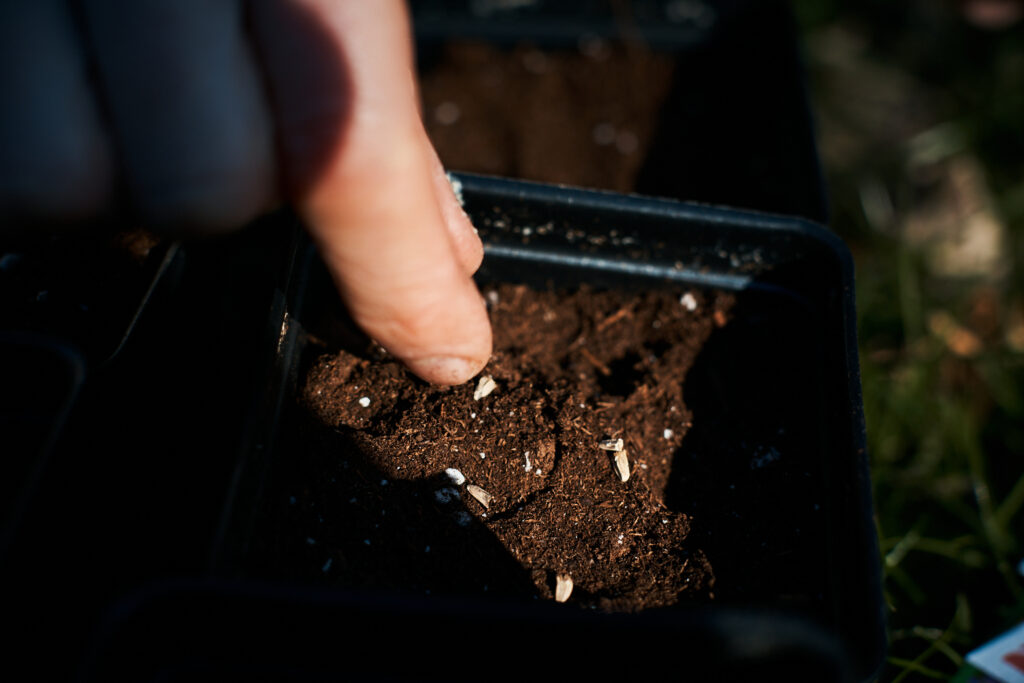
Laura fills reused pots with peat-free potting mix and then sows seed on top before covering them with more potting mix. Read the seed packet label to learn how deep a variety should be planted.
Sow the seeds densely.
Native seeds need to be sown more densely than annuals or vegetables that you may have grown from seed in the past. “If it has a low germination rate, you want to put more on,” says Rauch. Aim for about ⅛-inch or ¼ -inch apart or just add a couple pinches to each pot. Seeds should be buried at a depth double the diameter of the seeds, but itsy-bitsy seeds, like blue lobelia or cardinal flower, need light to germinate, so they have to stay on the top of the soil (you can cover with a thin layer of sand to keep them in place).
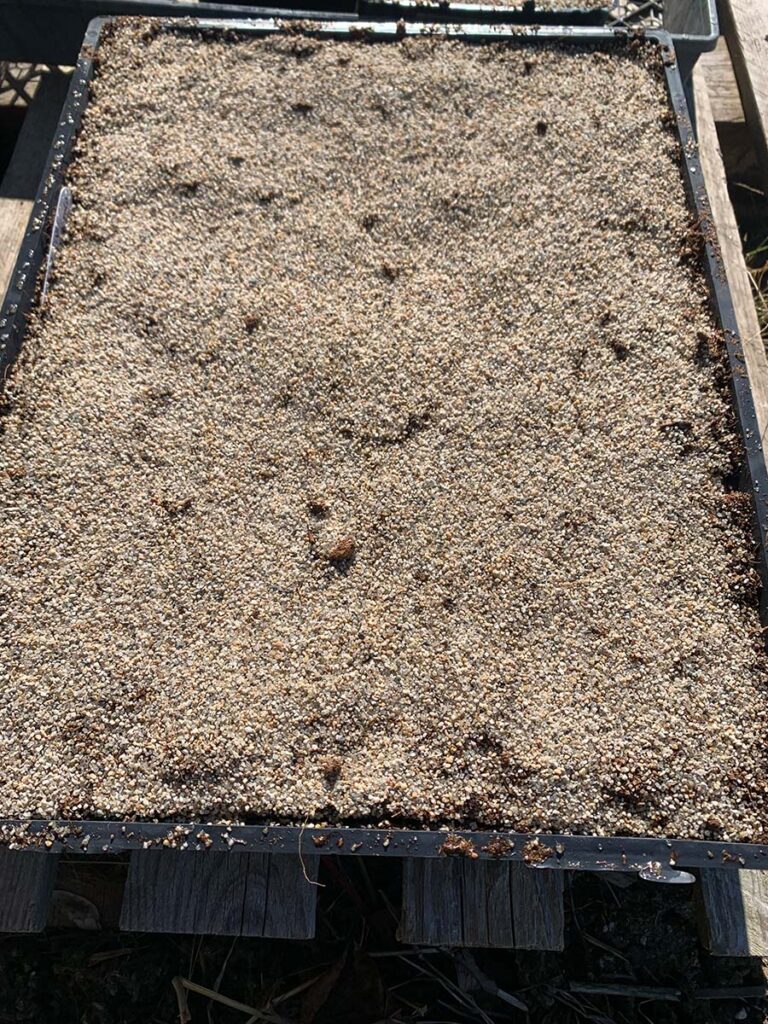
Or top with sand . . . Another method recommended by Rauch is to lay the seeds on the soil, then cover them with a layer of coarse, untreated sand equal in depth to the seed’s thickness. This can reduce weed seed germination and better hold the seeds in place in heavy rain.
Emily Rauch, the native plant program manager at Hilltop Hanover Farm, covers the planting trays with coarse sand after planting to help hold the seed in place in case of strong rain. Photo courtesy of Hilltop Hanover Farm.
Water them right.
Once your seeds are planted, water them in gently with a rain-type nozzle. “If you over water them, they’ll be soggy and rot. If they’re too dry, they won’t germinate,” says Rauch. Left outside, the pots will get the natural moisture from rain and snow over the winter, but you should still check on your pot periodically to make sure they are not bone dry. “I’ll end up giving them a little bit of water one or twice, but it’s pretty minimal,” says Davis.
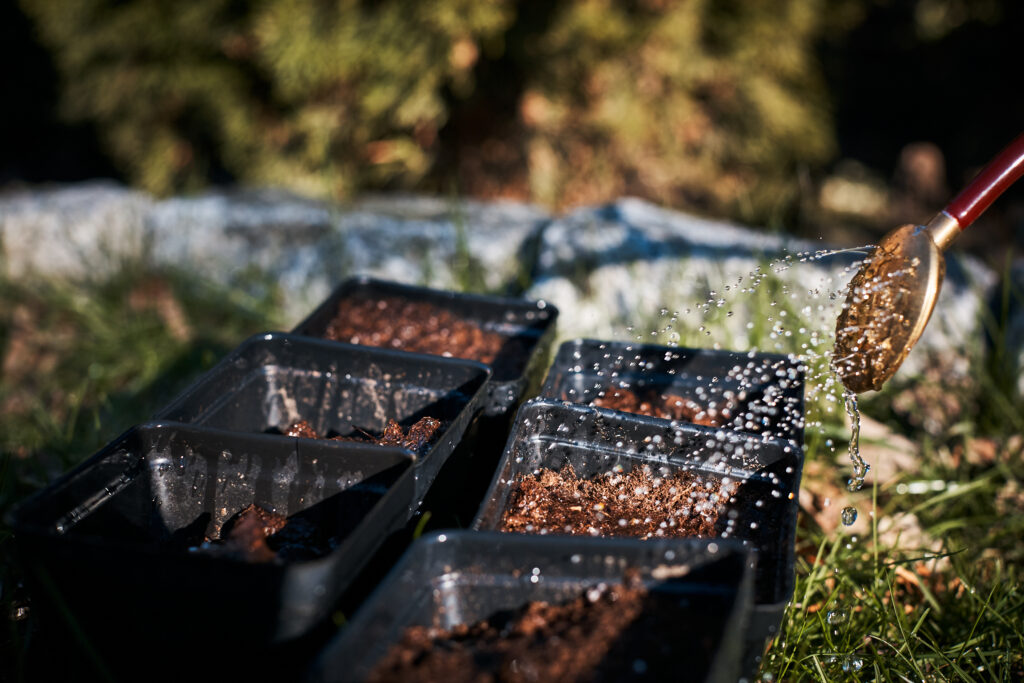
After planting, Laura waters the pots carefully with a rain-type nozzle to provide a gentle stream of water. Check your pots occasionally throughout the winter to make sure they’re not totally dry, but be careful not to over water them.
Wait, wait, and wait some more.
Native seeds can take a long time to germinate (some may not sprout until summer!)–and they can be staggered when they do germinate. So don’t give up if your seeds don’t seem to be sprouting, keep them moist and be patient.
Grow them on.
Once you’ve got sprouts, you can follow the advice for growing on any seedling. Wait until they have two or three sets of true leaves before you will separate the plants and plant them into different containers to grow them on. Wirth says that depending on the growth speed of species, you should end up with a garden size plug in early summer into fall.
Cheat sheet: Beginner Native Seeds for the Northeast
New world aster species (Astereae)
Goldenrod species (Solidago)
Bee balm species (Monarda)
Mountain mint species (Pycnanthemum)
Skullcap (Scuttelaria incana)
White snakeroot (Ageratina altissima)
Beardtongue species (Penstemon)
Vervain species (Verbena)
Eastern red columbine (Aquilegia canadensis)
Sources for native seeds
American Meadows (Vermont)
Wild Seed Project (Maine)
Native American Seed (Texas)
Northeast Seed Collective (Connecticut)
Prairie Moon Nursery (Minnesota)
Wild Flower Farm (Ontario)
Laura Fenton is a home and garden writer with a special interest in the intersection between our homes and sustainability; she is the author of the weekly newsletter Living Small and The Little Book of Living Small.
