PRFCT Planting Guide
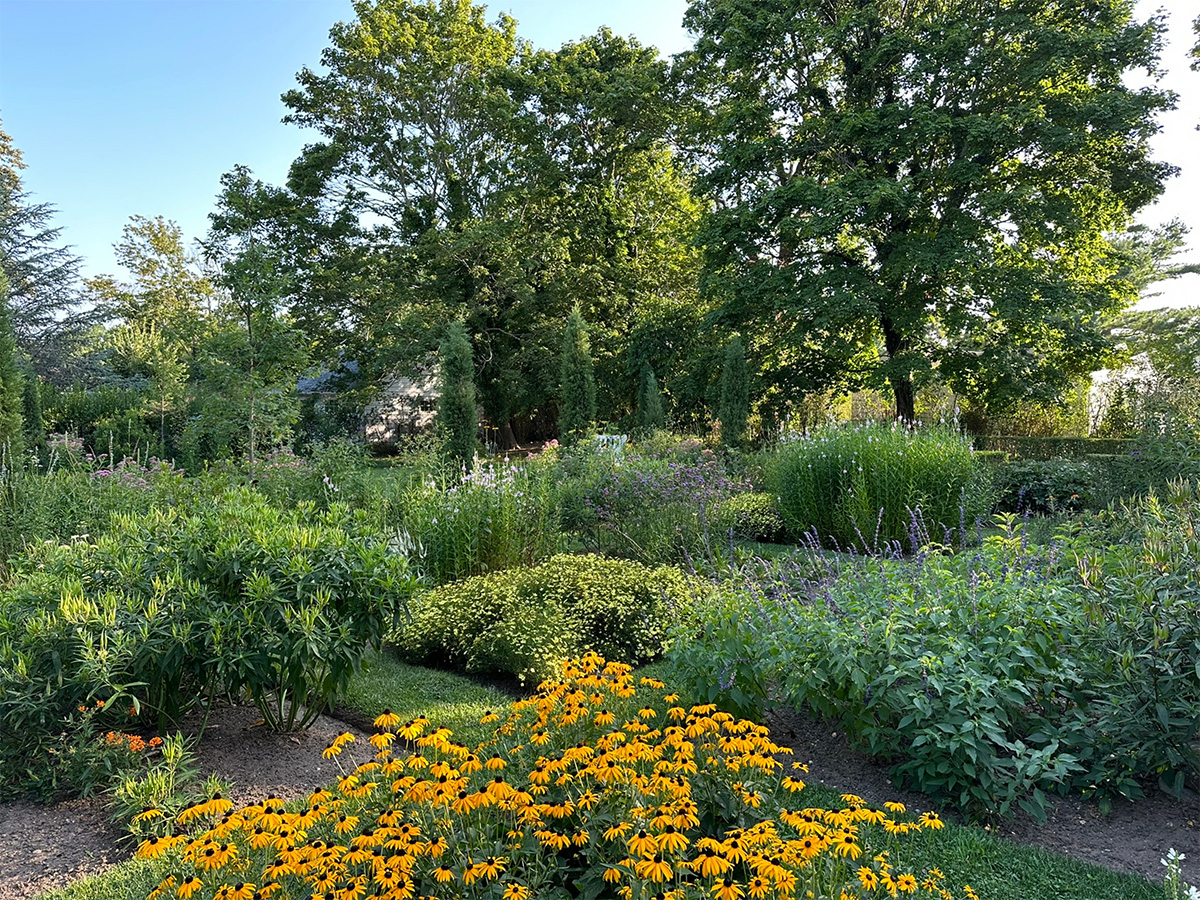
We’re thrilled you’re taking the steps to grow a PRFCT yard that provides a healthy habitat for all living things. Choose the native plants that are best suited for your property. Think: Right Plant, Right Place. Here is some steps to help you start planting—and don’t miss our PRFCT tips below!
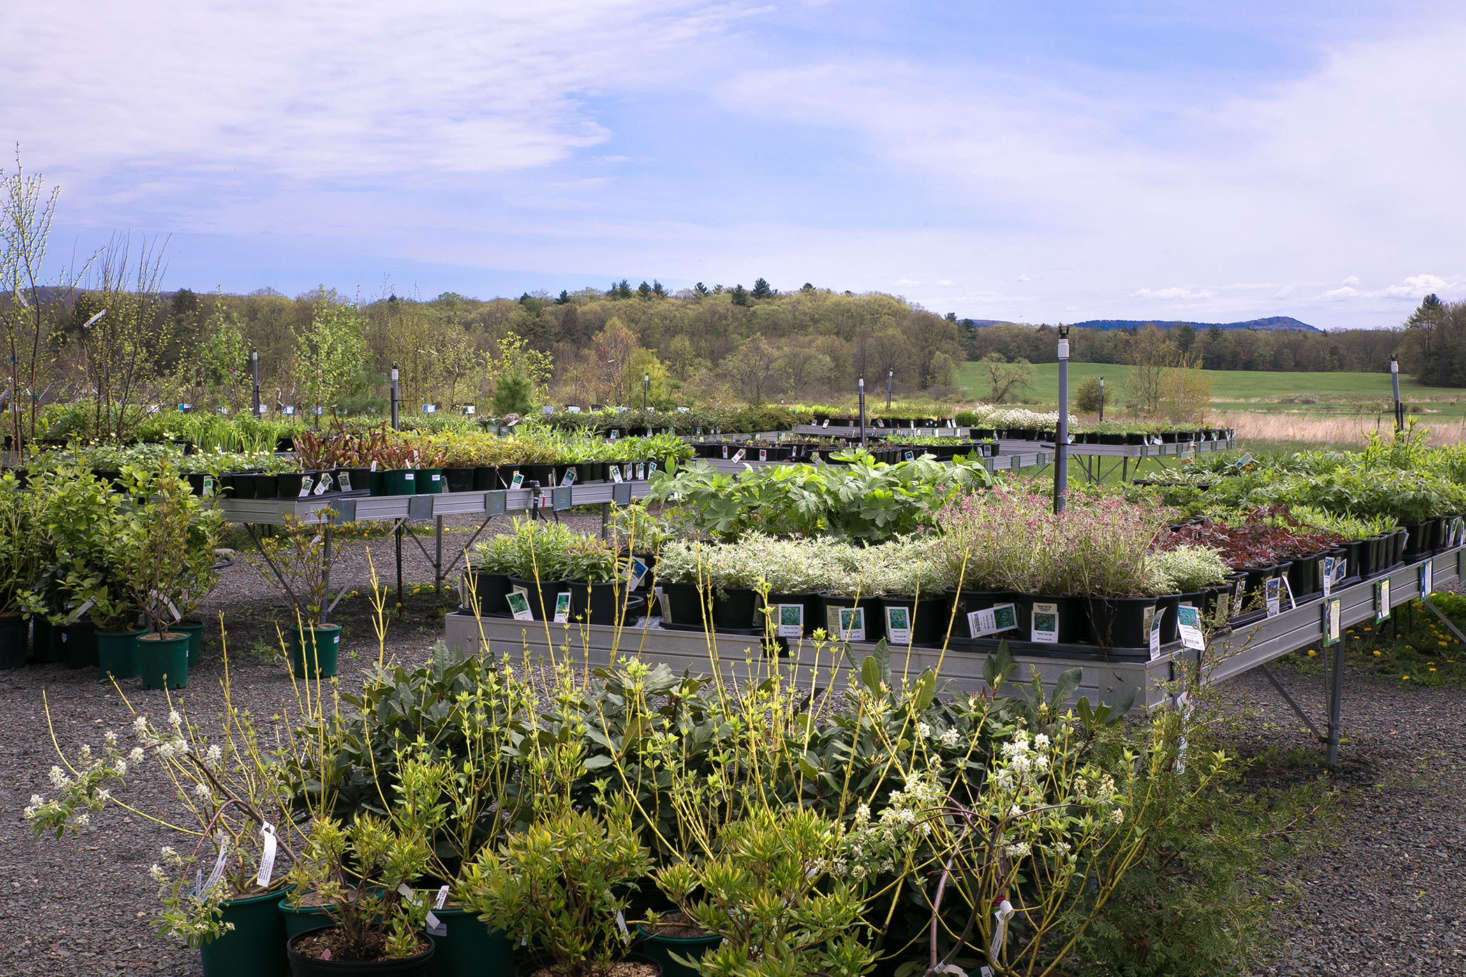
If you live on the East End of Long Island, check out this PRFCT-approved list of plants selected by Whitmores Tree Farm.
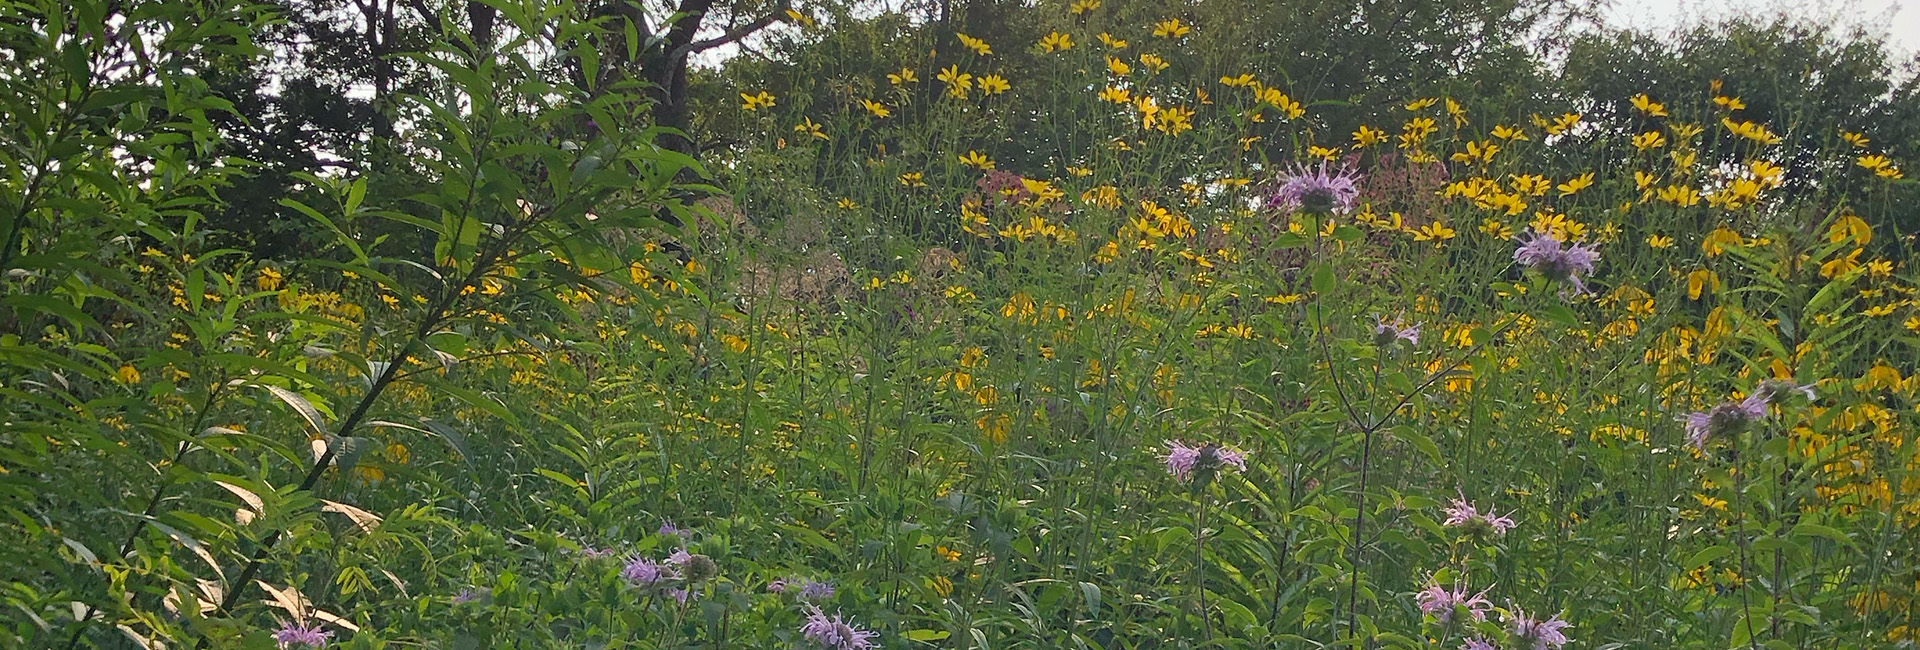
How to Plant a Native Plant Patch—Flowers, Fruit, Food for All!
Option 1: Expand an existing bed or convert a patch of lawn into a planting bed.
1. Stake out your new bed
2. Mow or cut the turfgrass as short as possible.
3.A. Scrape the area with a sharp spade. Slice off about a 2-inch thick mat of sod/roots.
OR
3.B. Put down a heavy layer of cardboard (remove any tape, leave no gaps). Cover with 2 to 3 inches of leaf mold, wood chips, or a combination of the two. Water each layer well—really soak it. Keep the cardboard moist until you’re ready to plant.
4. When you’re ready to plant, water the area so that the soil is moist (about 8-inches deep), but not soggy. We recommend you do this a few hours in advance of planting.
5. Review the info on the pot labels for heights and suggested spacing. Then, place the plants where you’d like them to grow.
6. Now start planting! Remove each plant from its pot, and plant one at a time. (Do not leave roots lying bare in the sun. They could dry out.) Dig a hole the same size as the plant’s root ball and place the plant in the hole at the same depth as the surrounding soil. Backfill with excavated soil and tamp down lightly.
7. Water thoroughly to ensure there are no air pockets. The surrounding soil should be moist. Stick your finger in about an inch to be sure.
Option 2: Plant into an existing garden bed.
1. When you’re ready to plant, water the area so that the soil is moist (8-inches deep), but not soggy. We recommend you do this a few hours in advance of planting.
2. Review the info on the pot labels for heights and suggested spacing. Then, place the plants where you’d like them to grow in the bed.
3. Now start planting! Remove each plant from its pot, and plant one at a time. (Do not leave roots lying bare in the sun. They could dry out.) Dig a hole the same size as the plant’s root ball and place the plant in the hole at the same depth as the surrounding soil. Backfill with excavated soil and tamp down lightly.
4. Water thoroughly to ensure there are no air pockets. The surrounding soil should be moist. Stick your finger in about an inch to be sure.
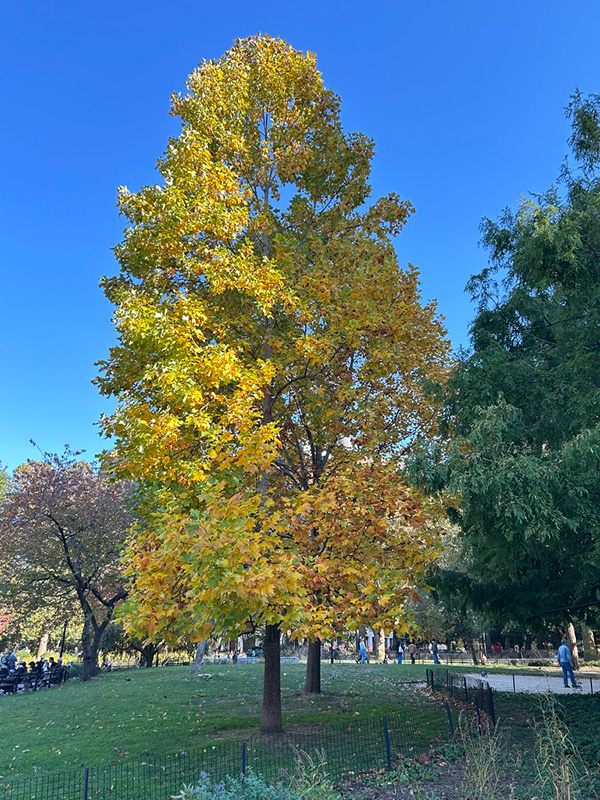
How to Plant a Tree or Shrub.
1. Soak the roots
Give the roots of containerized plants a thorough soak either with a hose or by submerging them, depending on the size of the root ball. Be sure to remove any burlap, netting, or wires around the rootball before planting.
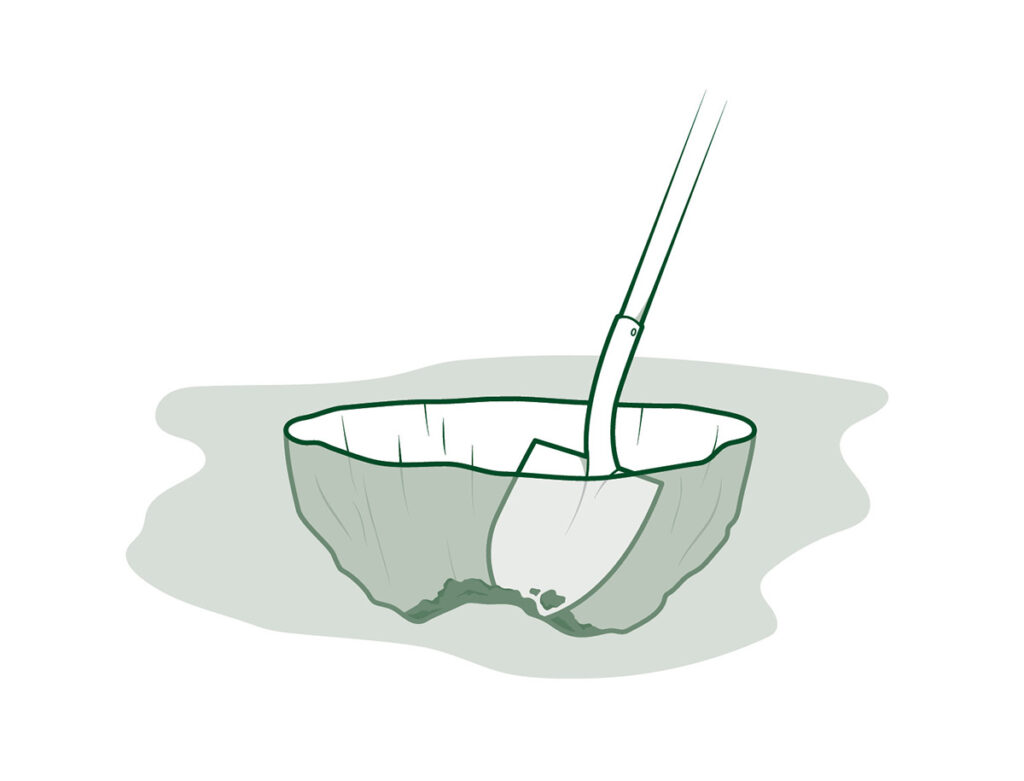
2. Dig a hole.
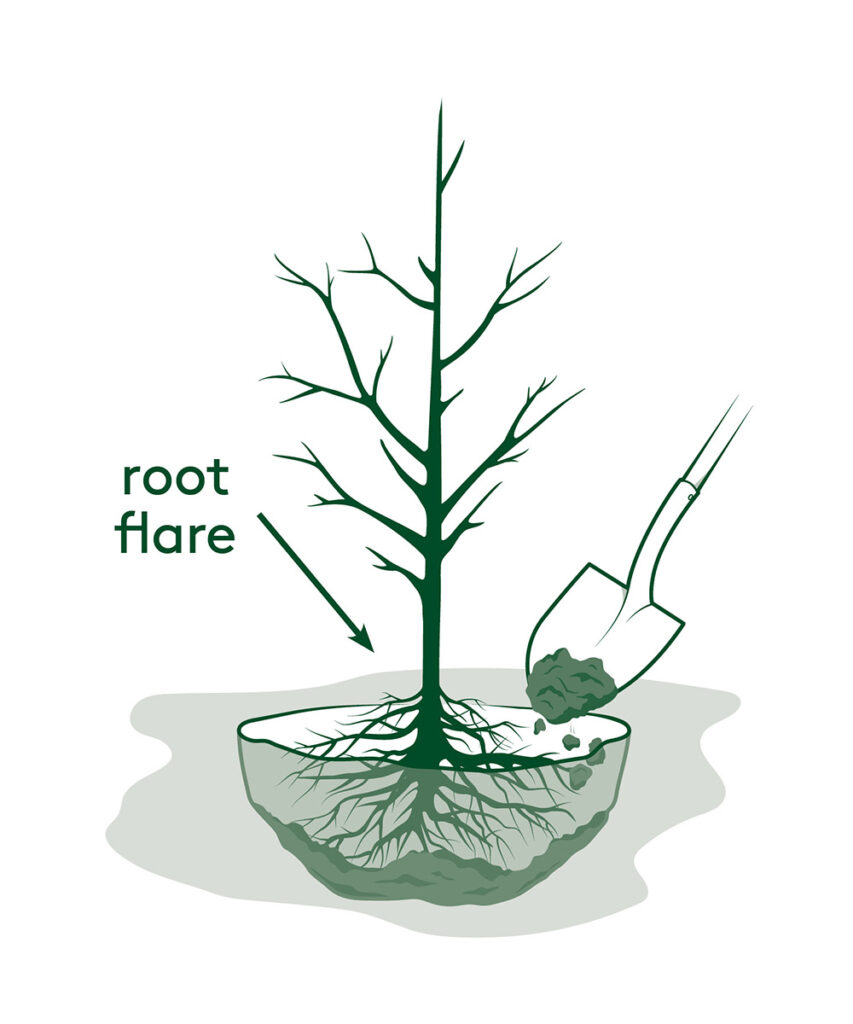
Dig a wide hole (about three times as wide as the rootball) that’s deep enough for the root flare to sit slightly above the ground level. Think: bare to the flare!
3. Place the tree.
Position the tree and begin back filling with the soil you dug out for the hole, making sure to keep the root flare above the soil line. It’s always better to plant a bit high than too low. Water as you back fill to remove air pockets. Do not add any fertilizers or compost.
4. Create a Saucer.
Save some of the excavated soil to build a saucer or “inner tube” of mounded soil around the base of the tree. The saucer should be two to three inches wider than the planting hole you dug and two to three inches tall to contain water. After three years, rake away the saucer.
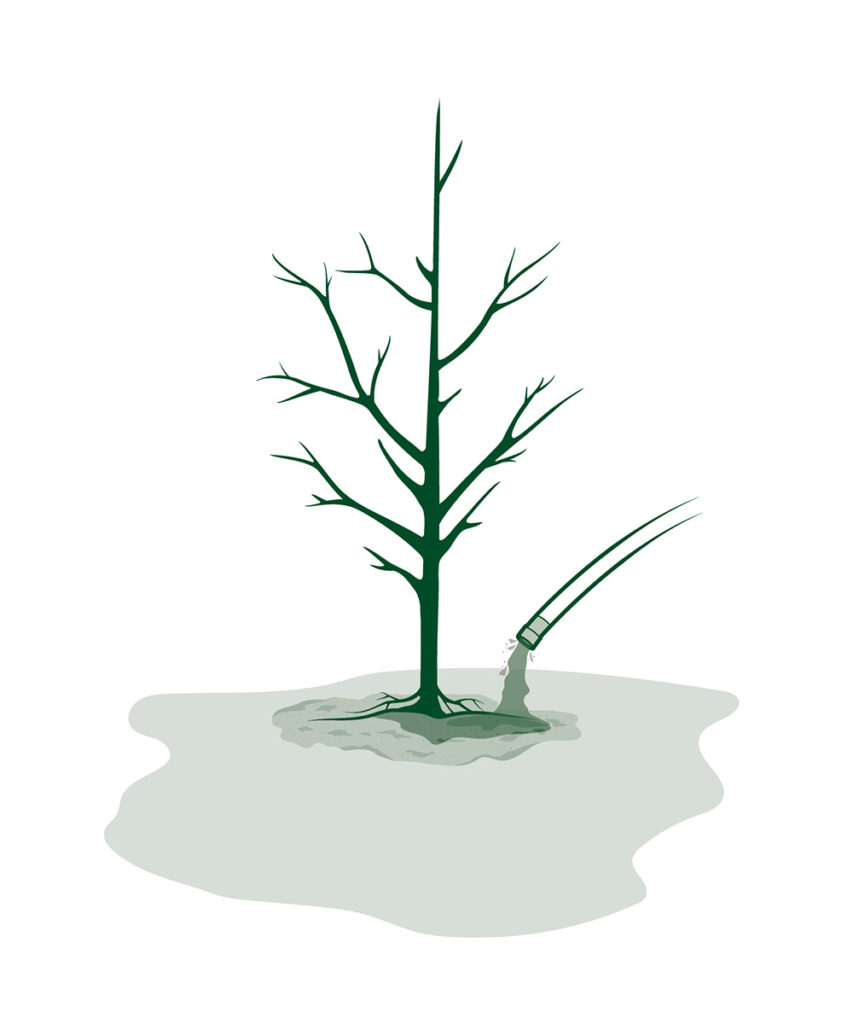
5. Water.
Fill up the saucer with water and let it fully drain twice after initial planting. Repeat this watering technique twice per week during the first two weeks. Then, once a week for three to eight weeks, and finally, once every other week for the remainder of the first growing season after planting. During the second year, water only when needed. Pay close attention to drought!
PRFCT Tips!
- If you are not planting right away, keep containerized plants watered!
- When using the cardboard method for prepping a planting site, you can plant right away but the longer you wait (six to eight months), the more likely that the existing plants below the cardboard will die off and make planting easier. For best results, smother the area for a period of time that includes a summer heat and winter freeze before planting.
- For especially dry or root bound containerized plants, soak them in water for about an hour until the soil is wet throughout before planting.
- Avoid drip irrigation. We prefer the “saucer” method (see above). It produces healthier plants and doesn’t involve burying plastic.
- Do not water root balls for trees that have been balled and burlapped. They will be far too heavy to move and plant afterwards!
- Sometimes nurseries plant trees and shrubs too deep in pots to sell. If you’re planting a tree and the trunk looks like a telephone pole sticking out of the dirt, try removing some dirt little by little to expose the root flare before planting. Then follow the tree planting instructions.